Bicycles For Humanity

Welcome! Take a look at here at Bicycles for Humanity's Victoria Chapter to see what else is going on!
Showing posts with label Bicycle Maintenance. Show all posts

Sunday, January 8, 2012

Big Apple


Rear wheel is ready to go. Schwalbe Big Apple tires
are the choice for this build. (26 X 2.35) If you are setting up a disc brake xtracycle the rear is designed for a 203mm rotor. Just have to paint the forks and I can get rolling!

Saturday, January 7, 2012

Disc Brake Tab!


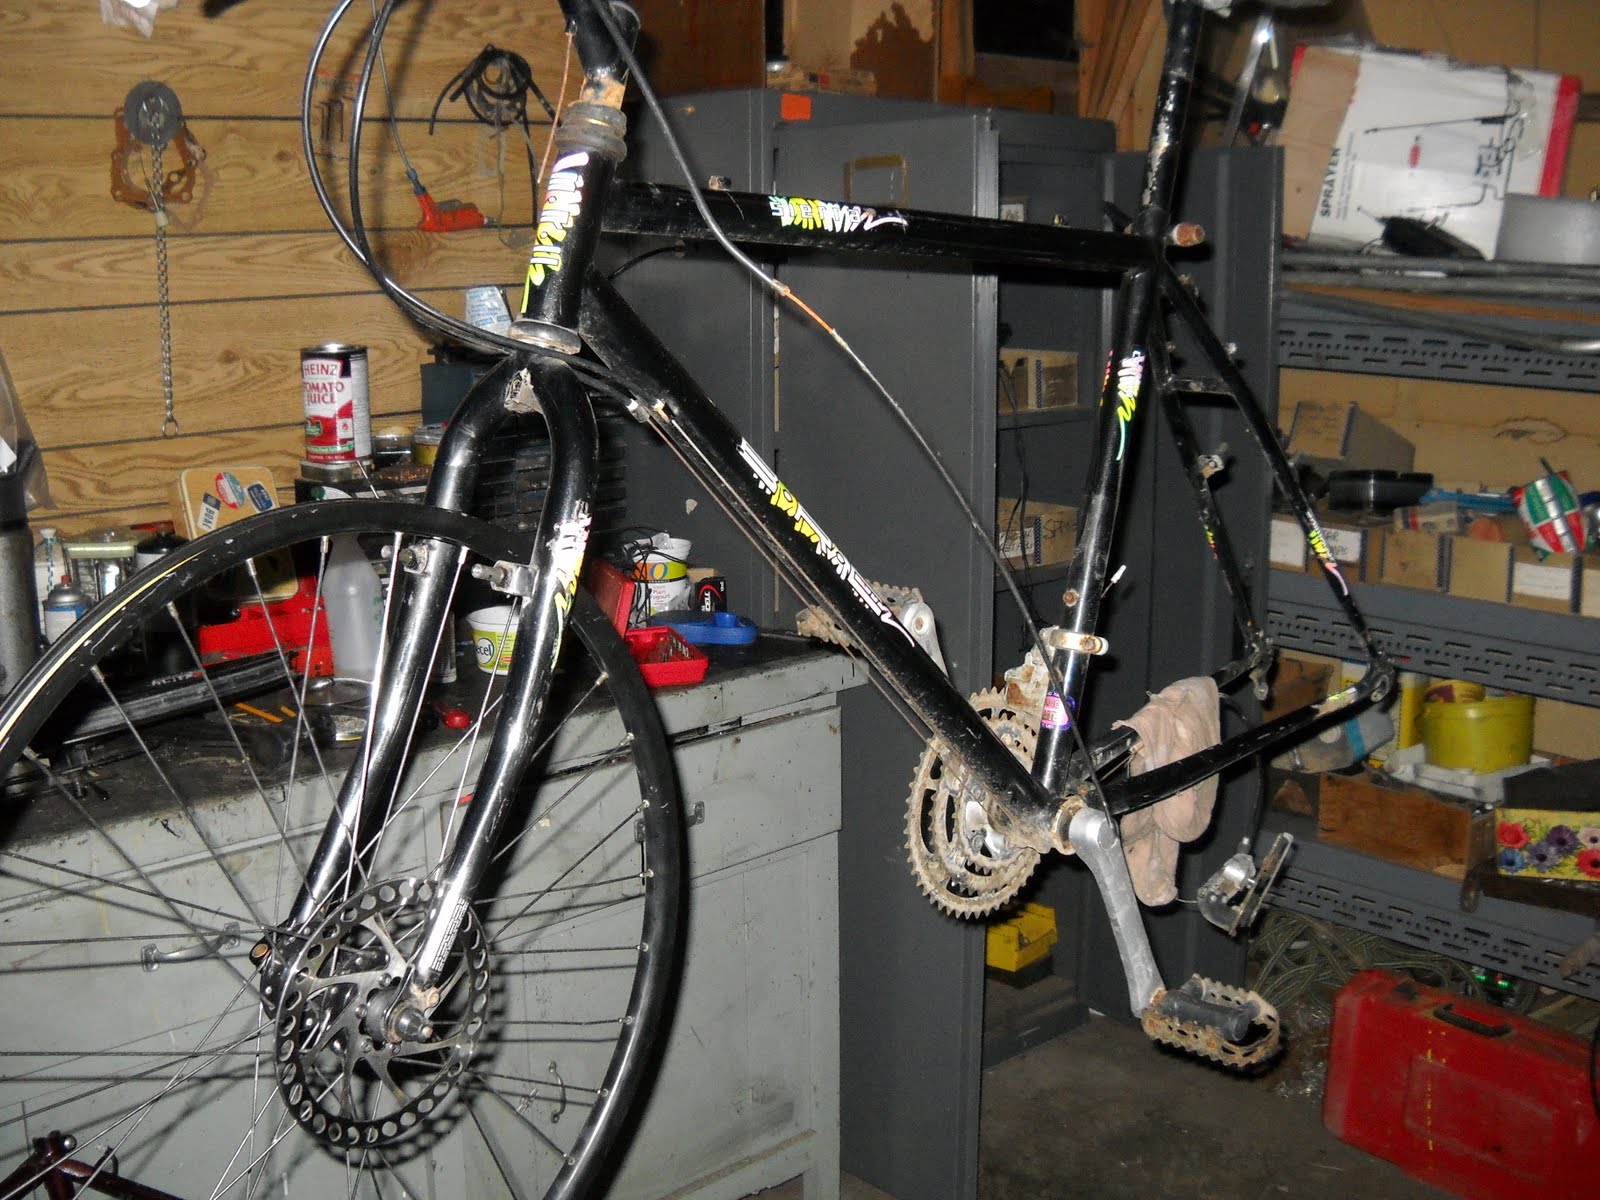
Tough to get a photo a night with your phone-but here goes. A 20-something year old BRC with a disc brake on the original uni-crown fork.

Friday, December 30, 2011

BRC Sierra


Here are a couple of pics. Sorry for the poor quality. Stripped the bike down- first project is the forks.
Going disc brake all the way- want to keep the original BRC unicrown fork.
Traced out a disc brake tab on another fork and crafted this. Sparks will fly tonight!

Wednesday, December 21, 2011

Projects- Xtracycles and Boats!

Had a little left over energy last night. Hatched a plan to get a couple of projects going with this blog as motivation. I hope to document both of thes projects on a (more) regular basis.

Project 1)
I have had an Xtracycle up and running for some months now. Its setup on a white aluminum MTB frame. Rides awesome- but I am drawn to STEEL. Got a twenty something year old BRC mountain bike frame. (BRC = Boyes and Rosser Cycles) Some of their bikes were pretty well set up. Follow along as I shove an Xtracycle on it- including disc brakes. And its Black. Photos to follow.
Project 2)
A partly finished Cedar Strip Canoe. How much time will I have- or is this a new-years resolution? 18 feet at the water line and nicely making wake..........

Friday, May 20, 2011

Xtracycle Freeloader Repair

Picked up a couple of used Xtracycle Bags the other day. Thanks North Park Bike shop!

Seems that any of these big bags can be prone to catching a strap somewhere and breaking a buckle. Fortunately they are easy to repair. I previously posted about repairing Kona Ute Bags here. I have since found an even easier way. The trick with these bags is the tail or running end of the strap is looped back onto the strap itself- a handy feature to keep the loose tail in check and to keep it from getting too long. I repaired the Freeloaders without stitching or loosing any length. Here is how:


Unthread the webbing from the buckle and slide a standard ladder fastener onto the webbing to replace your broken slider. Thread the buckle (or a new buckle) back on. It should look like this:


In the same vein as a "quick attach" buckle, saw a slot into the unused end of the ladder strap.


Work the stitched loop end into the slot you have cut in the slide. While this may not be as strong as original- it works really well and keeps your loose ends in check! Your finished product should look like this.


Using this trick it is very easy to replace all of the plastic buckles and slides on your Freeloaders in the field. I love things that are field repairable!


Thursday, June 24, 2010

Grease Job


Here is a little trick that I haven't used for some time and just thought of it when reading Megan's last Wandering Time post. When I used to mountain bike alot in really wet conditions I would use this little adapter on my grease gun to force grease into the pedals, bottom bracket and hubs. (loose ball bearing days) The adapter fits on any standard grease gun, and I imagine you can get it at an auto parts store or industrial supplier.


It worked really well on pedals. Drill a little (maybe 1/16") hole in the plastic end cap and force some grease in. The only trick is you have to see a little grease come out the other end- with some of the super sealed equipment these days it may be tough.


In aviation they use a small little fitting that presses into about a 1/8" hole and has a ball and spring to keep things sealed- they accept this needle fitting. I mucked about with such devices but ended up just leaving a small hole in the end cap- maybe water worked in- but it must have worked its way out again. These pedals are probably from the early 90's and have never been apart- just had grease pumped into them. Maybe this is where I should go with the Yuba, its agricultural enough.....


Cheers,


John